Add User from Identity Provider
In this use case, we will discuss how to use Identity Provider as a user source. We will not do the full integration, but take a look at the capabilities and common use cases.
Why use Identity Provider (IdP)?
Identity Providers are used to allow the login to Okta and therefore to AWS IAM Identity Center with existing accounts of Google, ADFS, Facebook, and so on.
How is the sign-in experience with IdP?
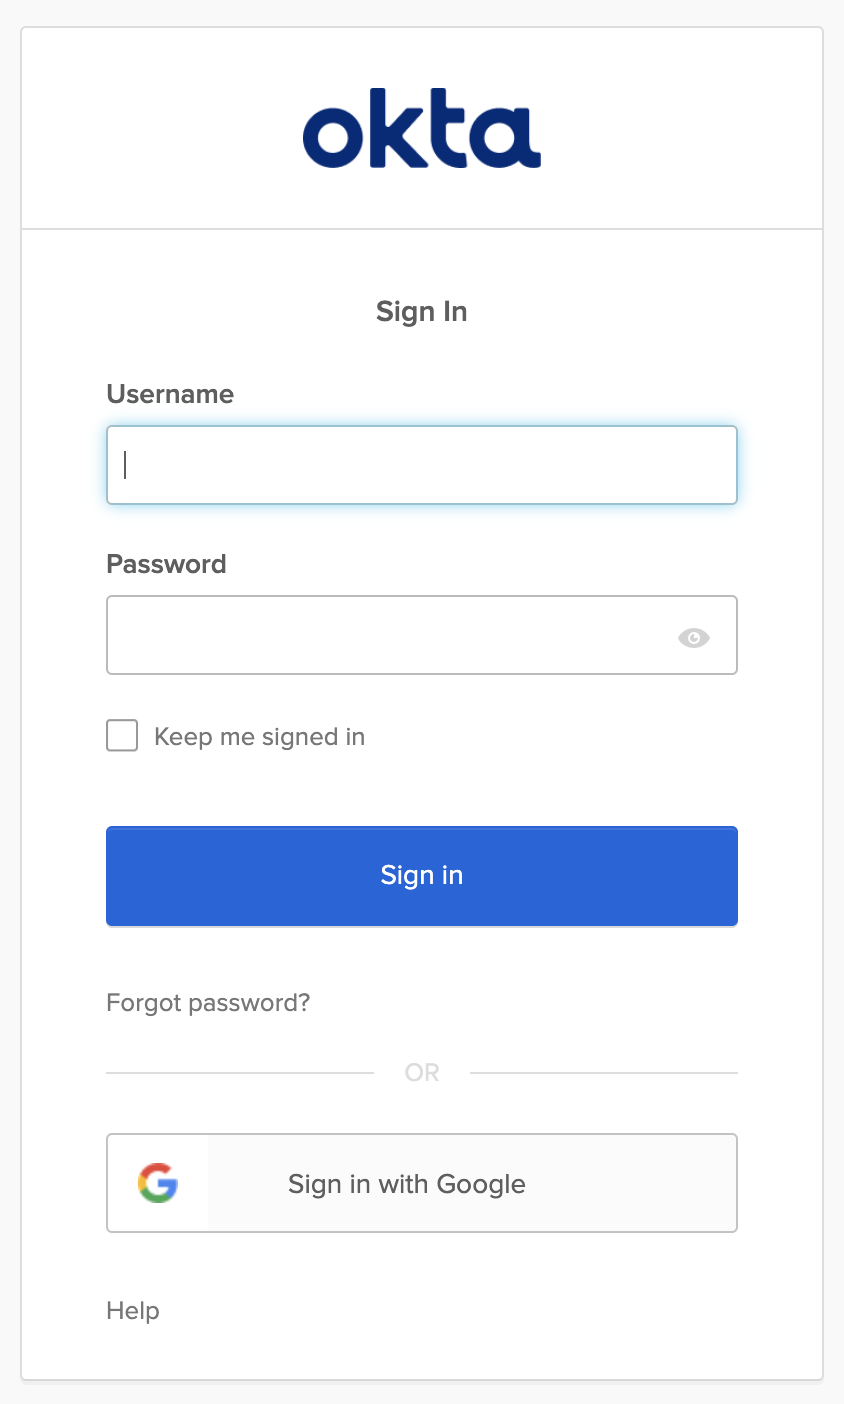
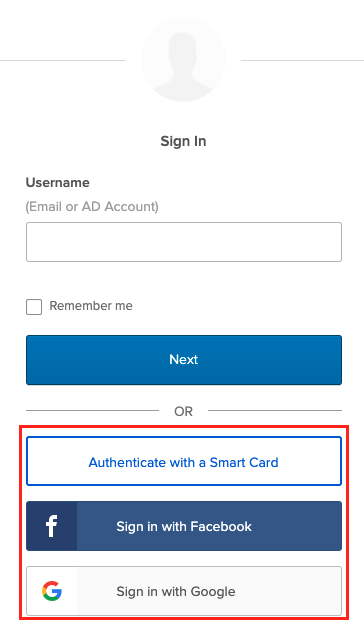
The sign-in experience can be designed in multiple ways as you can see in the following screenshot:
- Routing Rules/ IdP Discovery: The user enters his username or email address and the rules define the Identity Provider. You can see that the field to enter the password is not shown because it makes no sense if the user is routed to an Identity Provider. Rules can be for instance a domain name e.g. all users with @partner.com will be redirected to a specific Identity Provider of a partner.
- Buttons: The user clicks on a button as shown in the screenshot to register or sign in themself e.g. Smart Card, Facebook or Google.
Configuration Steps
-
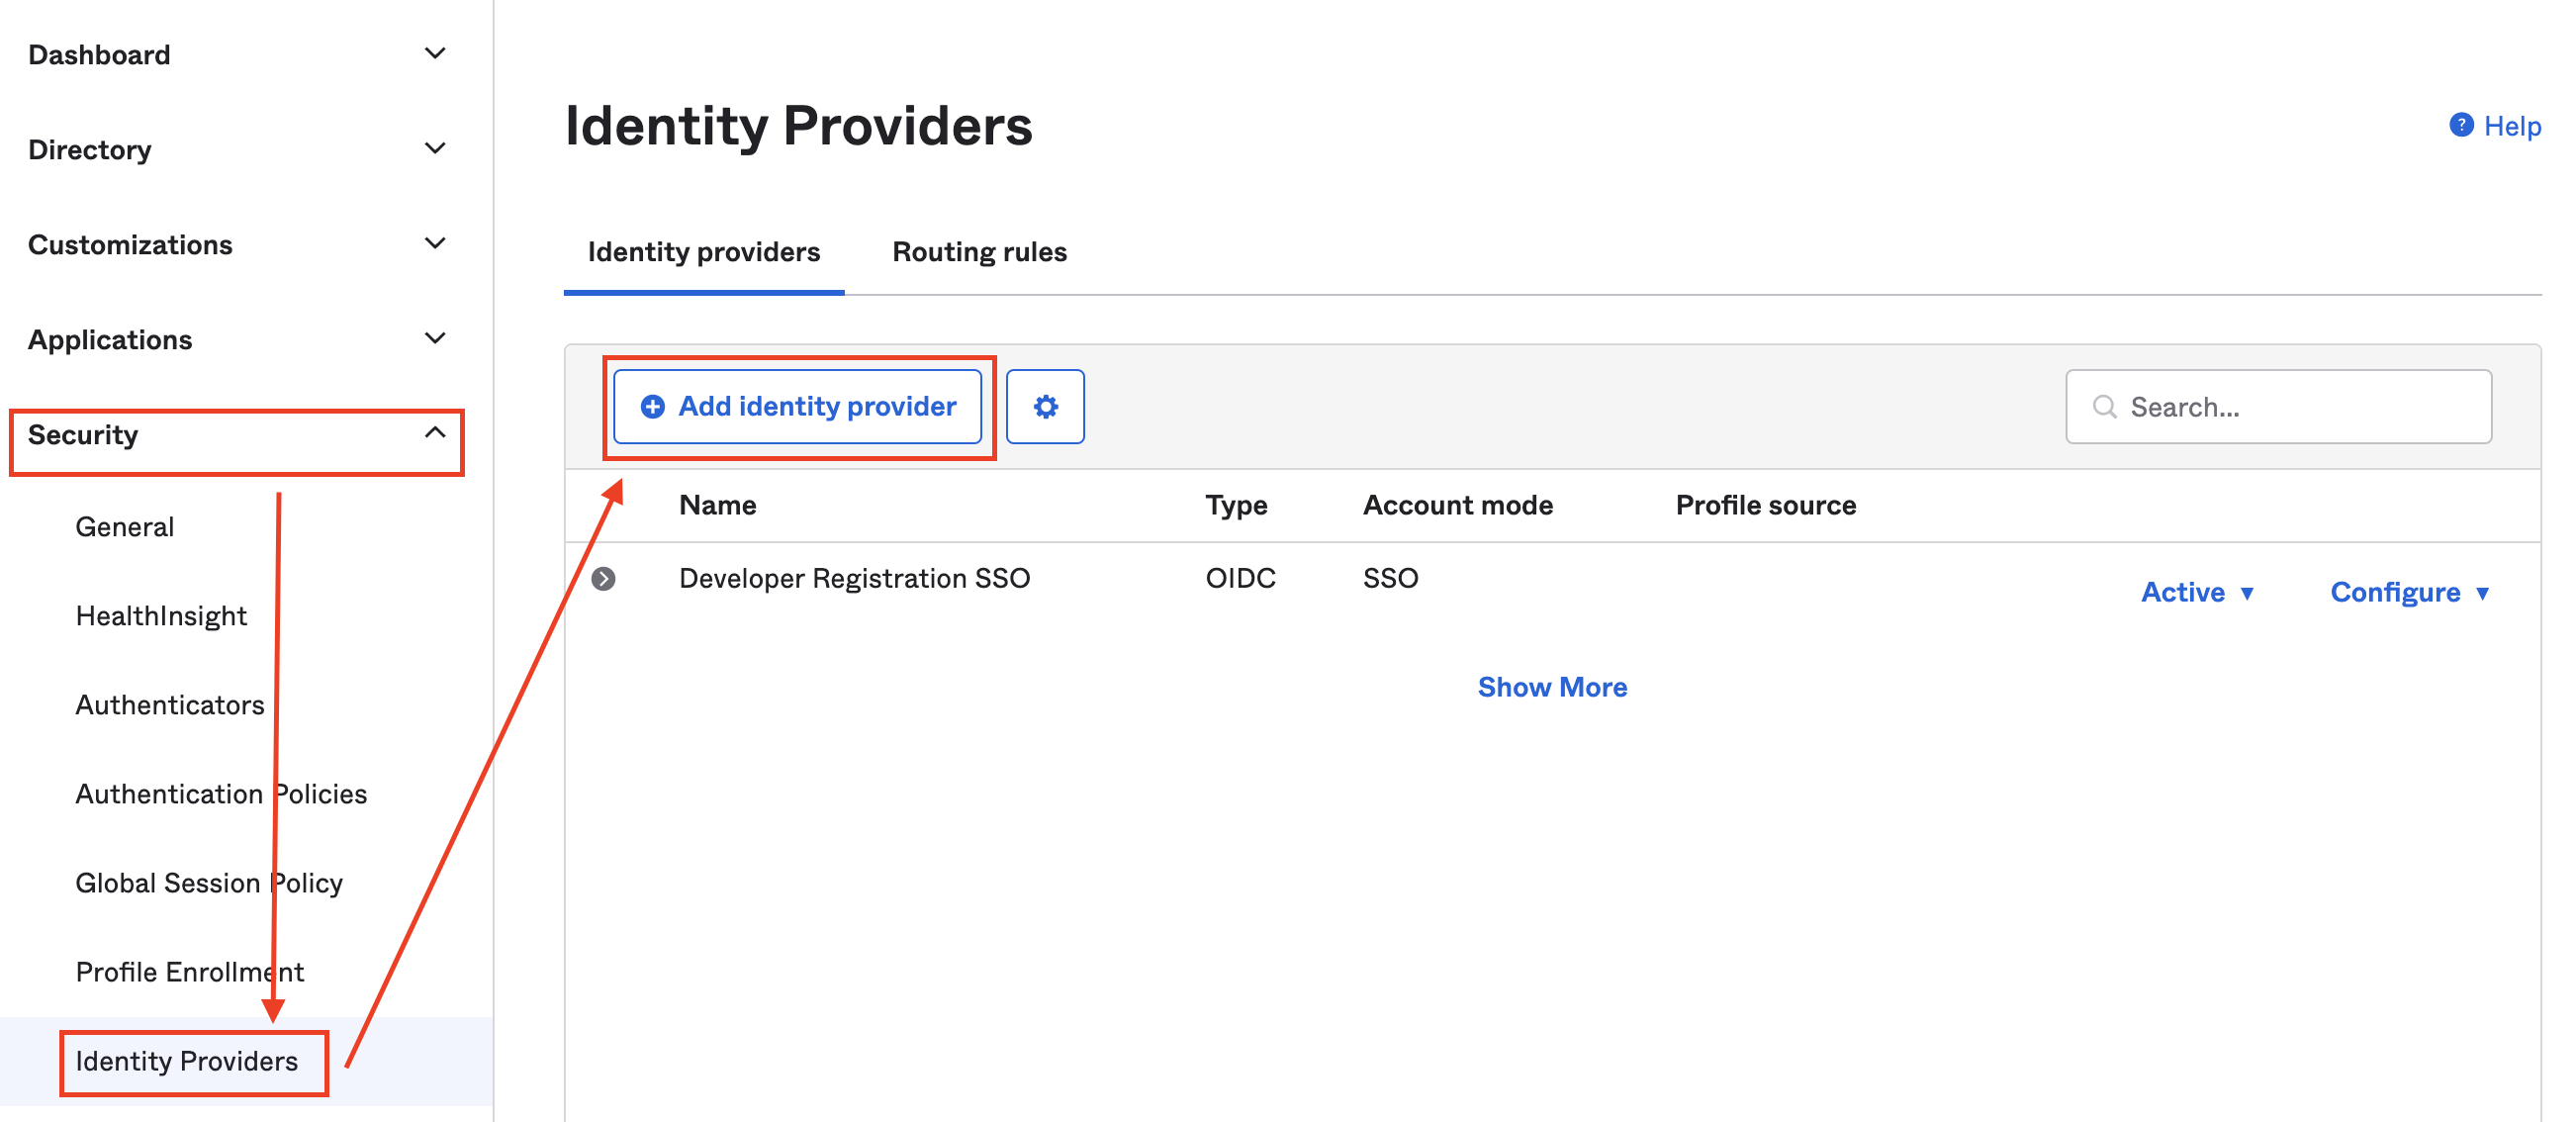
Identity Providers are configured at Security -> Identity Provider. Okta provides out-of-the-box integration with multiple IdPs. Here are instructions on how to configure them
-
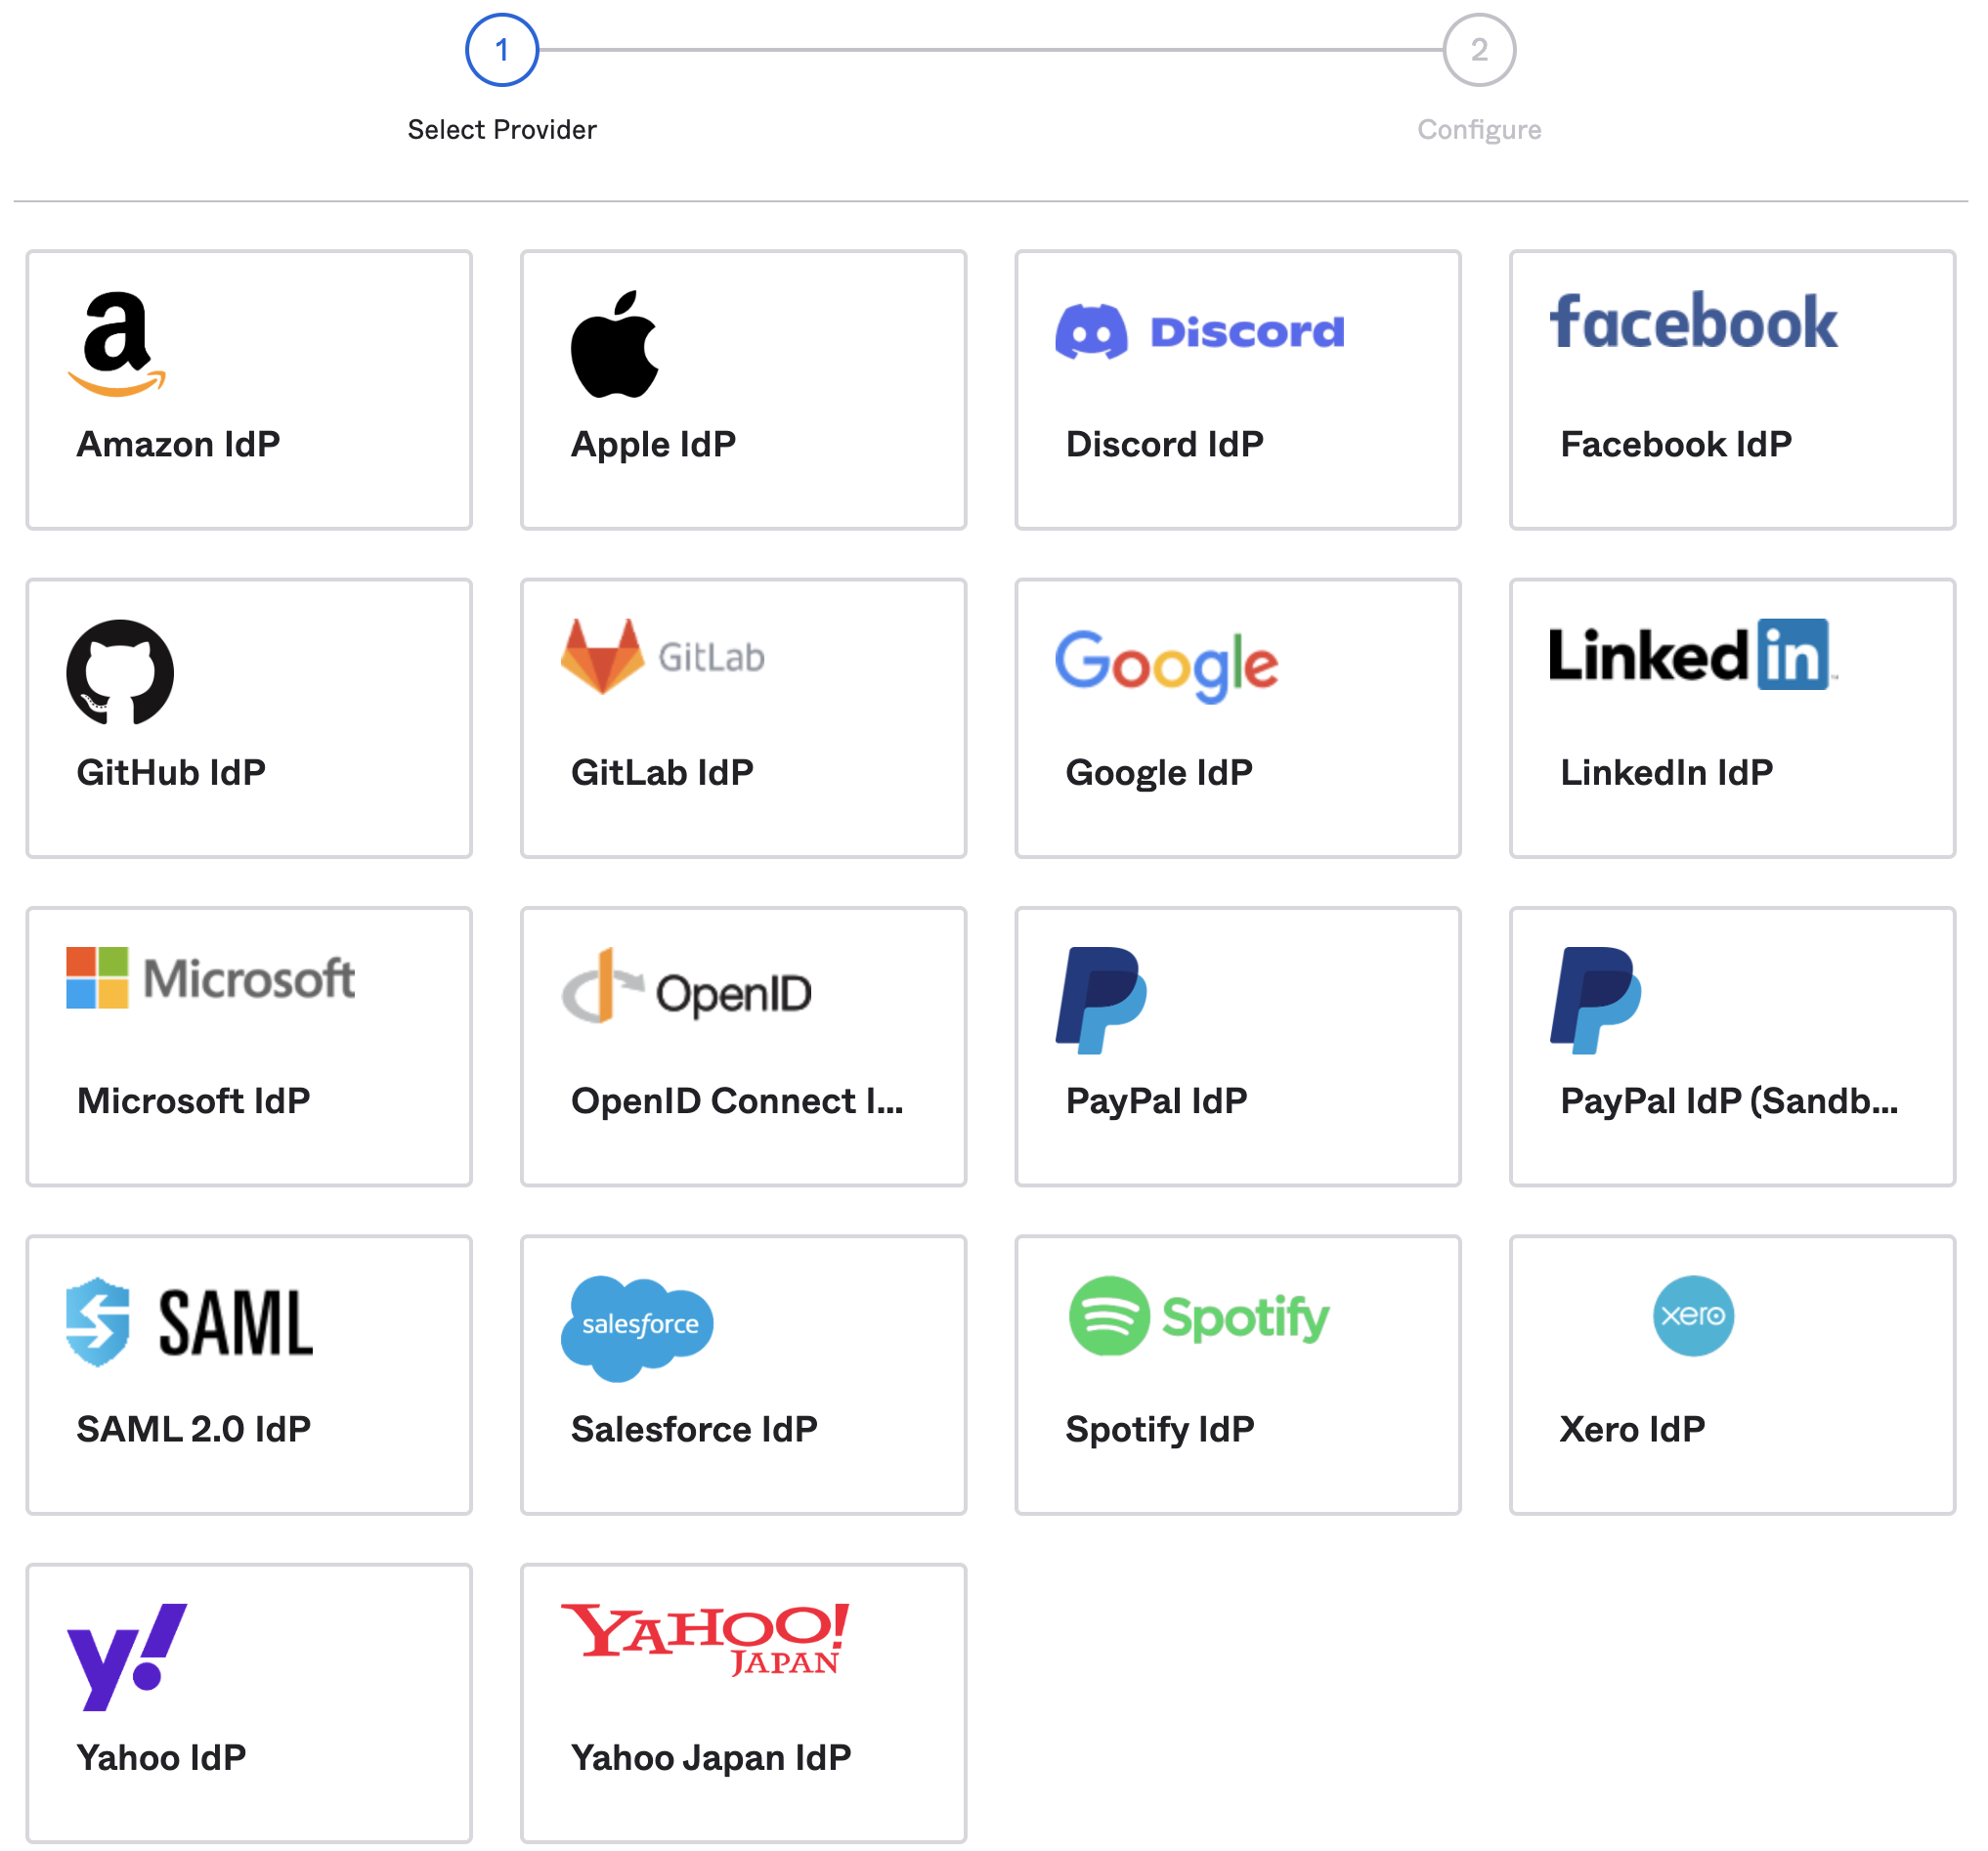
Click on Add Identity Provider to see a list of all supported IdPs.
-
The next step is to create a routing rule. On the same page, switch to the tab Routing Rules and click on Add Routing Rule to create one.

-
Here is an example of such as routing rule. All users are allowed to sign in with Google or Okta.
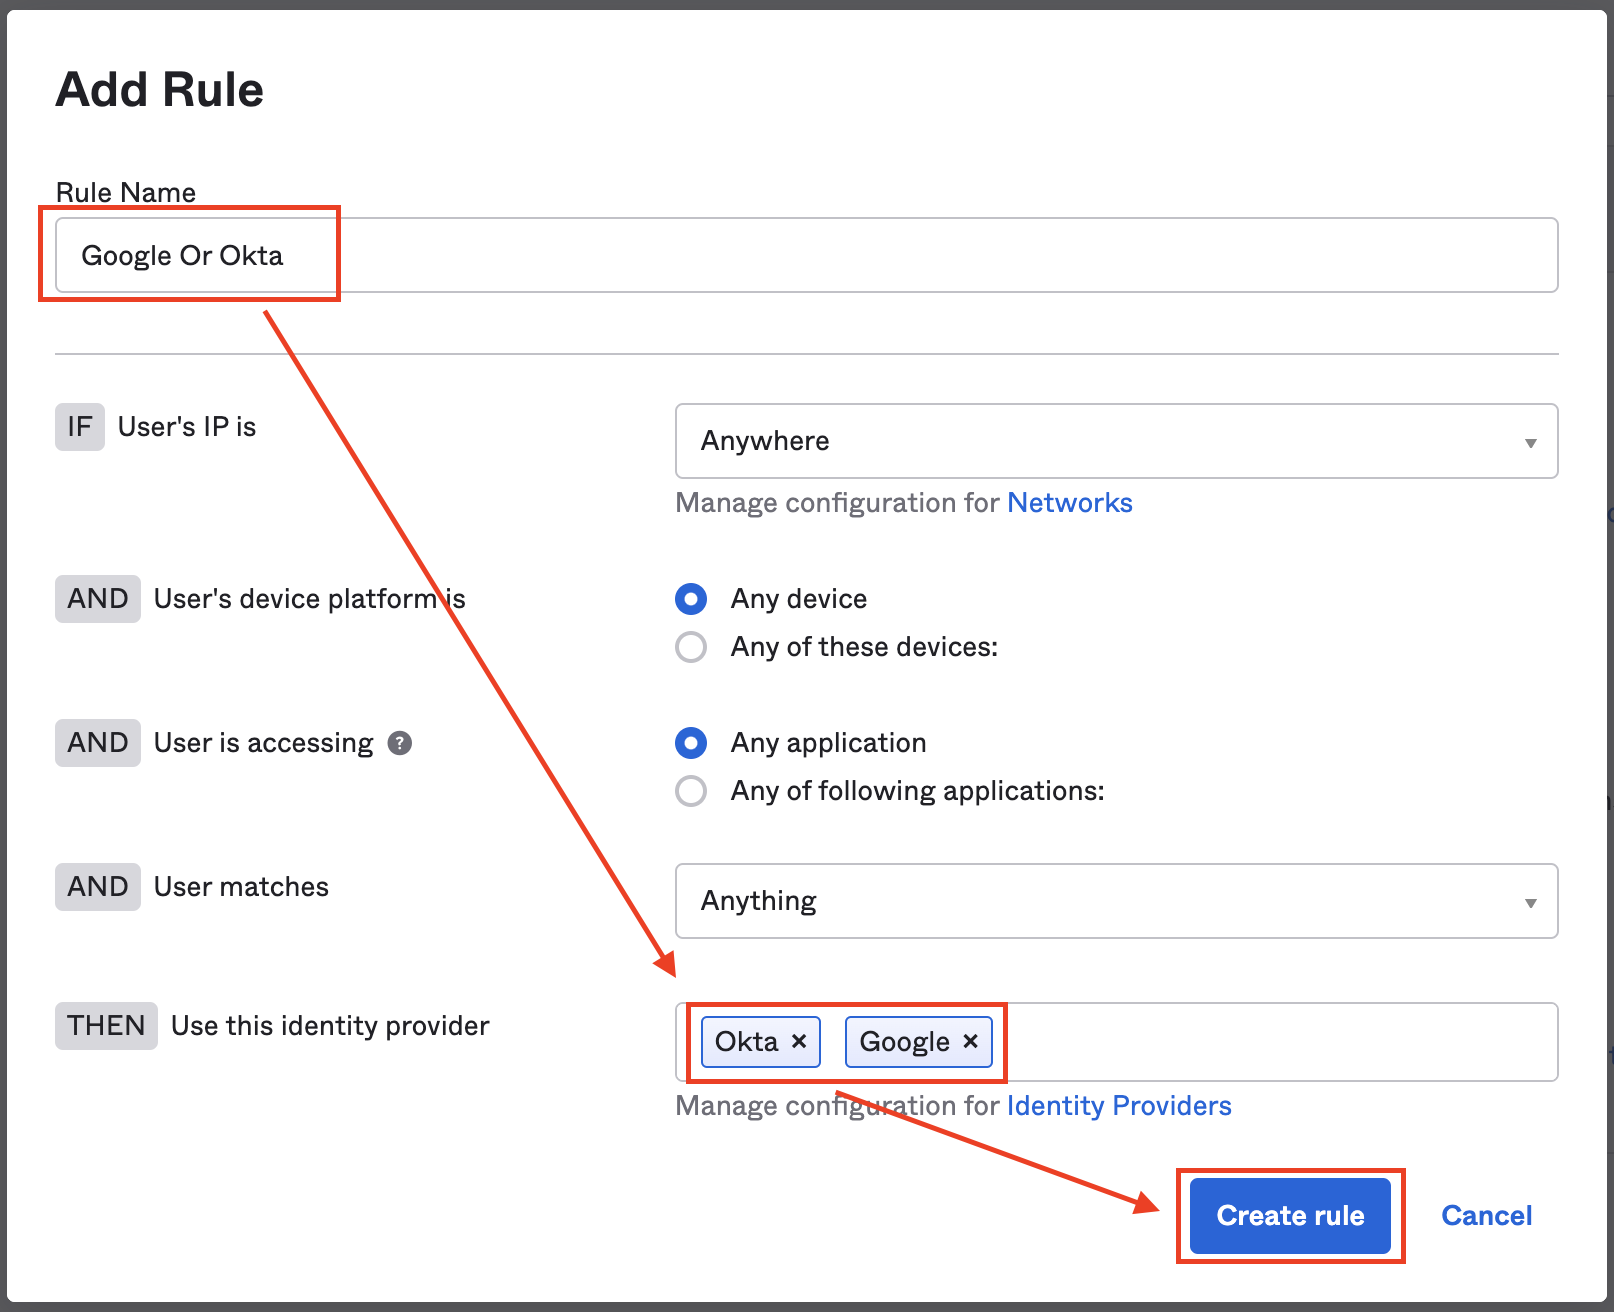
-
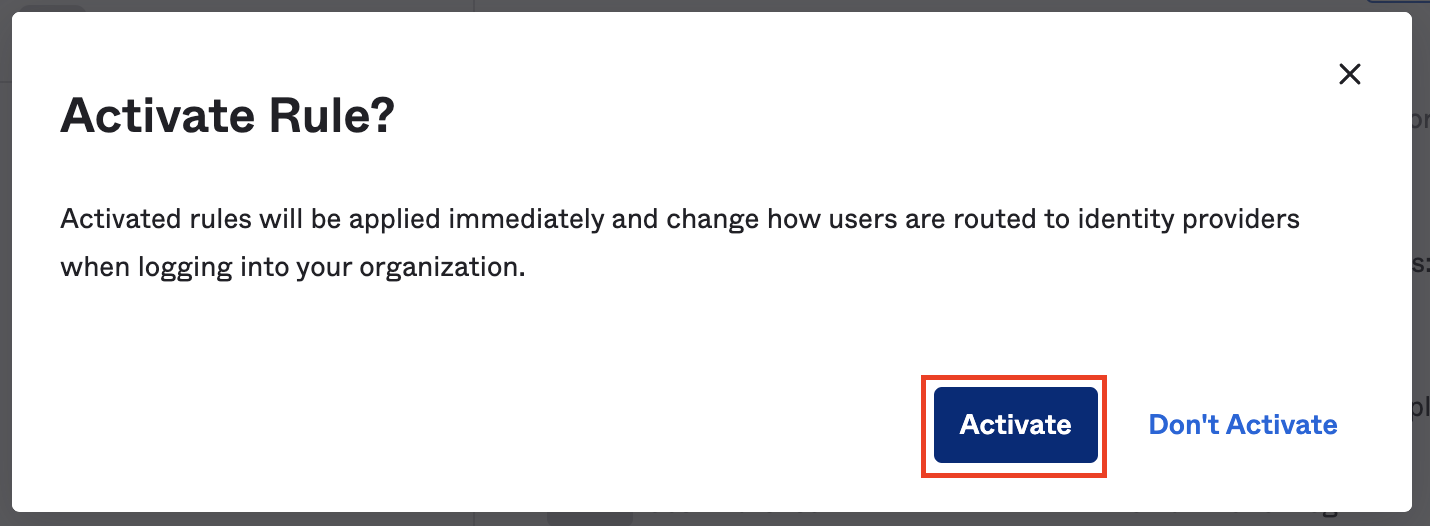
A window will pop up to activate the new Rule, click on Activate.
-
After activating the routing rule, you can see that Sign in with Google is available.